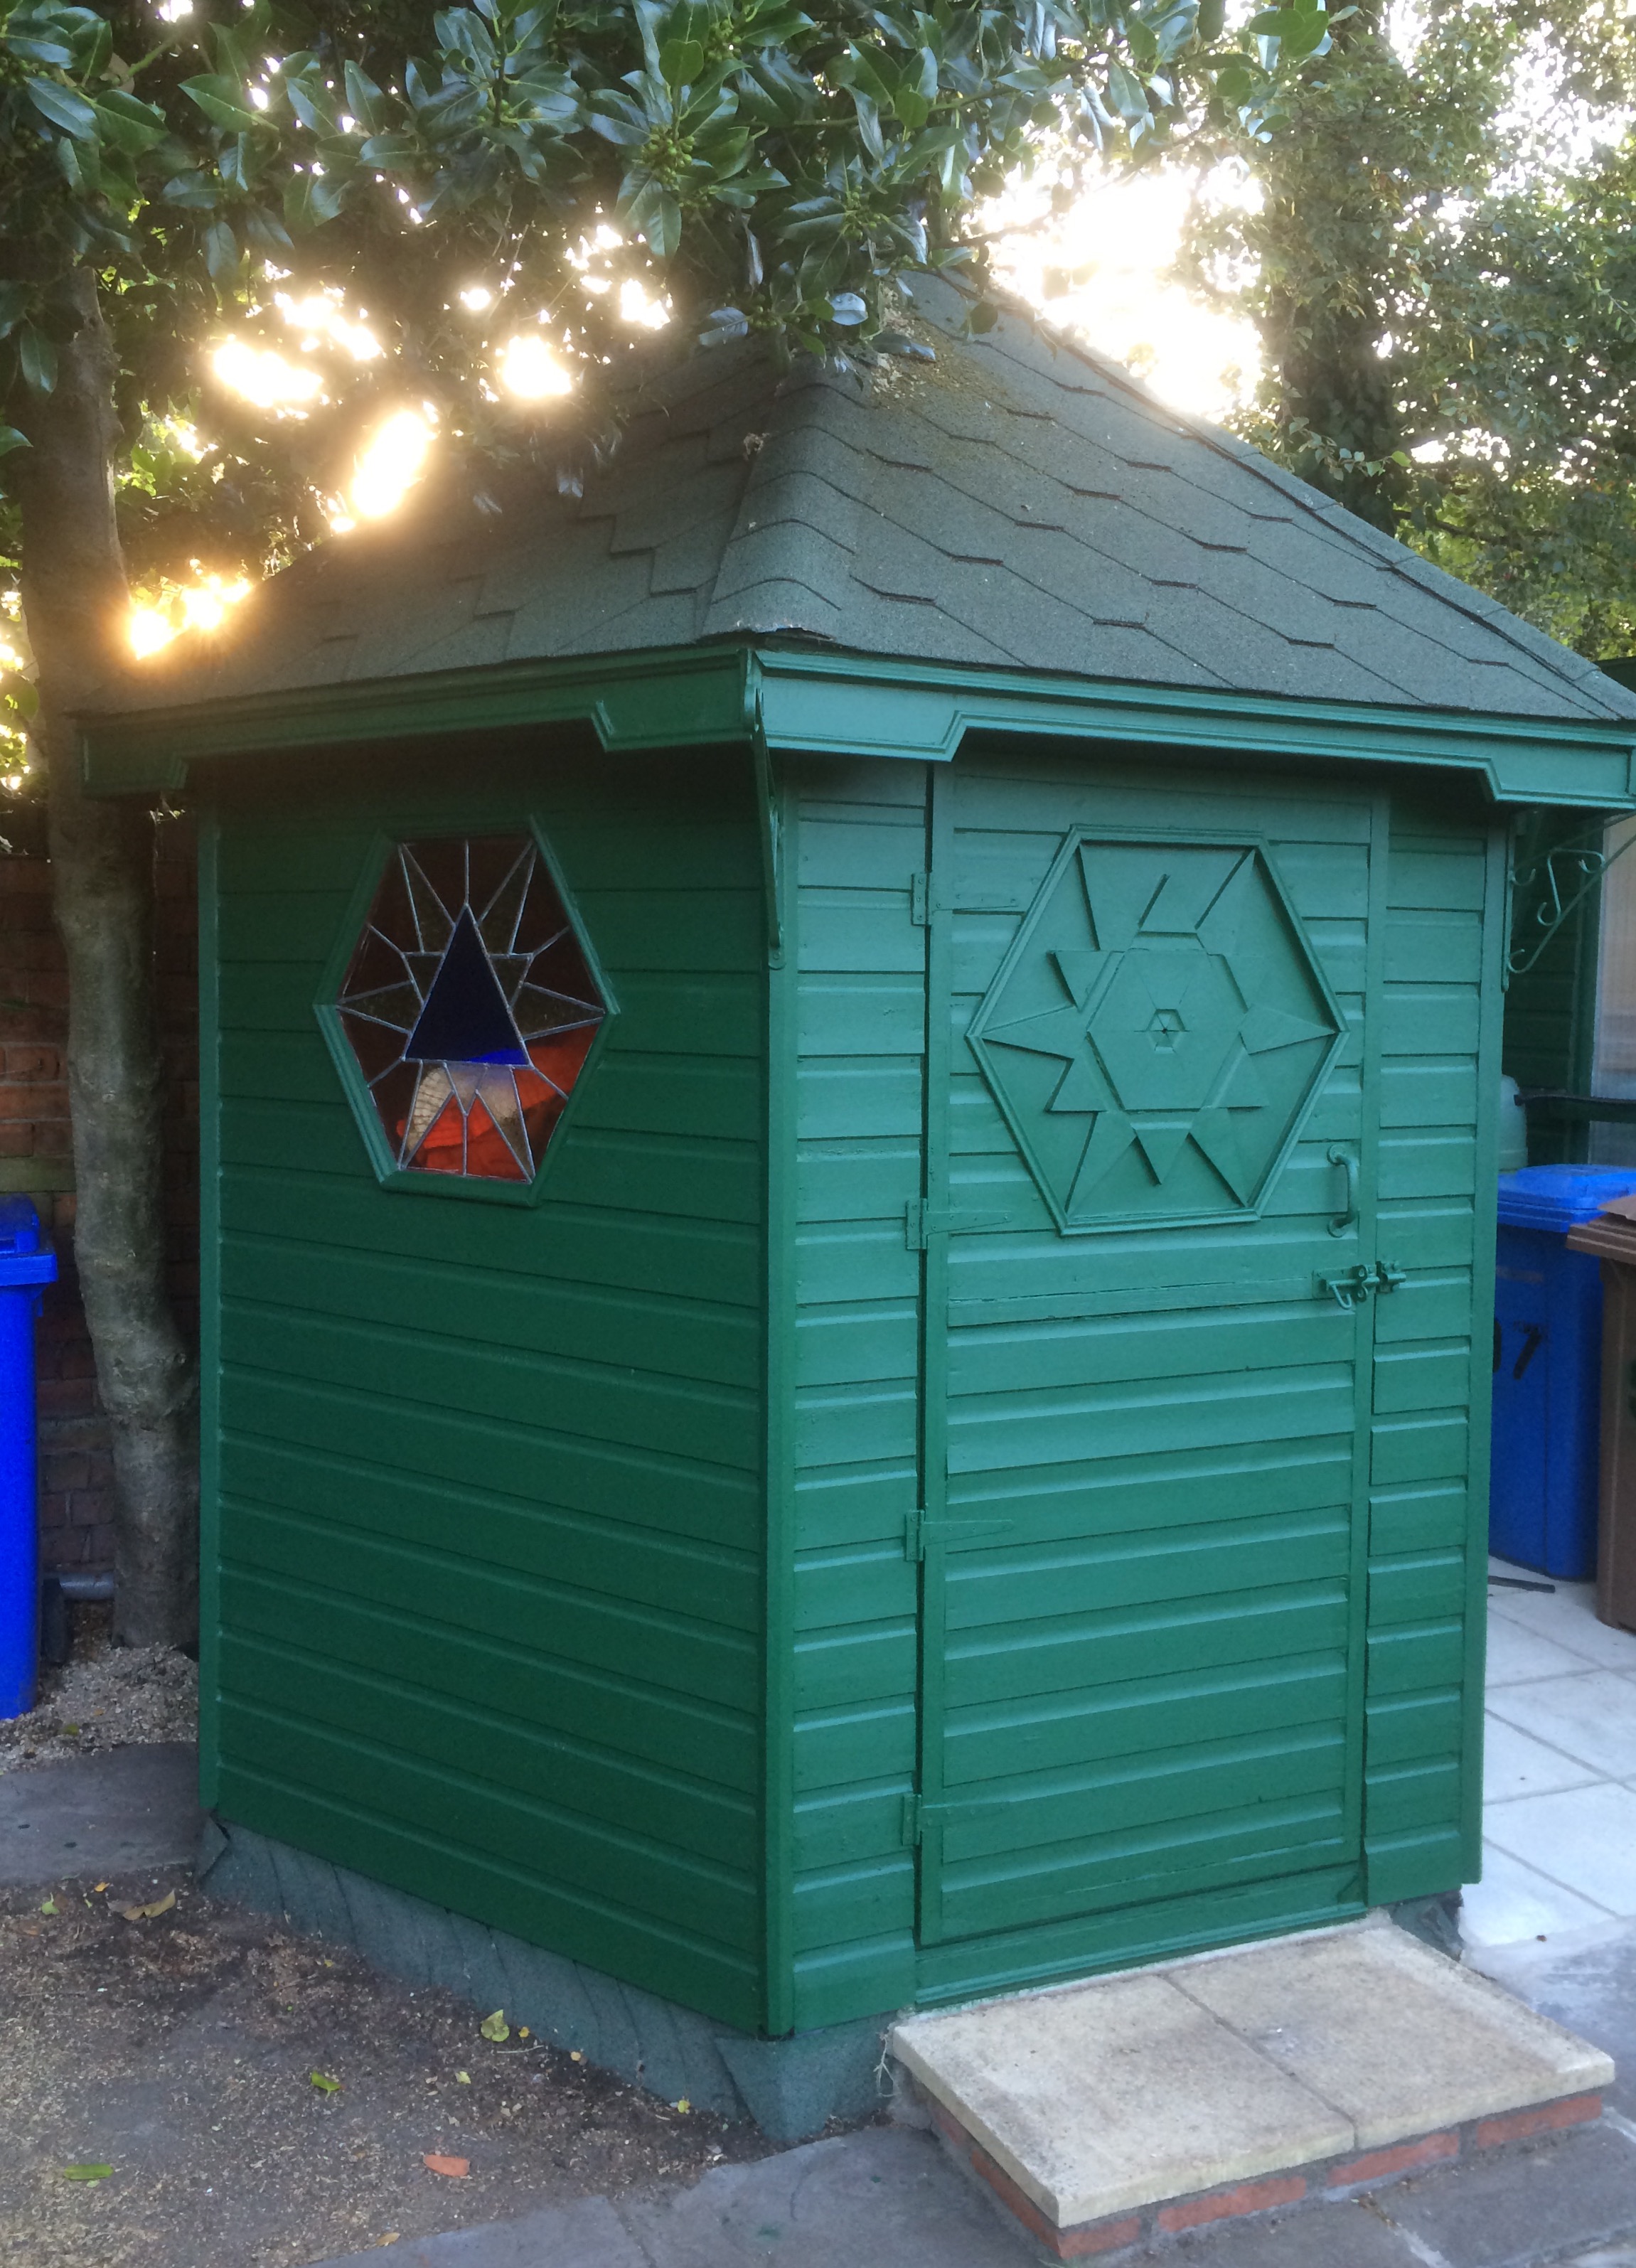
This page discusses how the garden shed was built for the Frog Bottom Preserve.
Shovels and rakes. Fencing supplies. Sprayer parts. Feeders. Hand tools and small fasteners. Tractor parts. It all has to go somewhere. And if you out in the field when something breaks or you don't have a key component - well, so much for finishing that task today. You either make a run back to the house or reschedule. So a shed was needed to store parts on the Frog Bottom Preserve.
Special thanks to the construction students at Sam Houston State University, in Huntsville Texas. The class does projects for local businesses and chareties. They did the cutting and assembly, and had a lot of great ideas on the design.
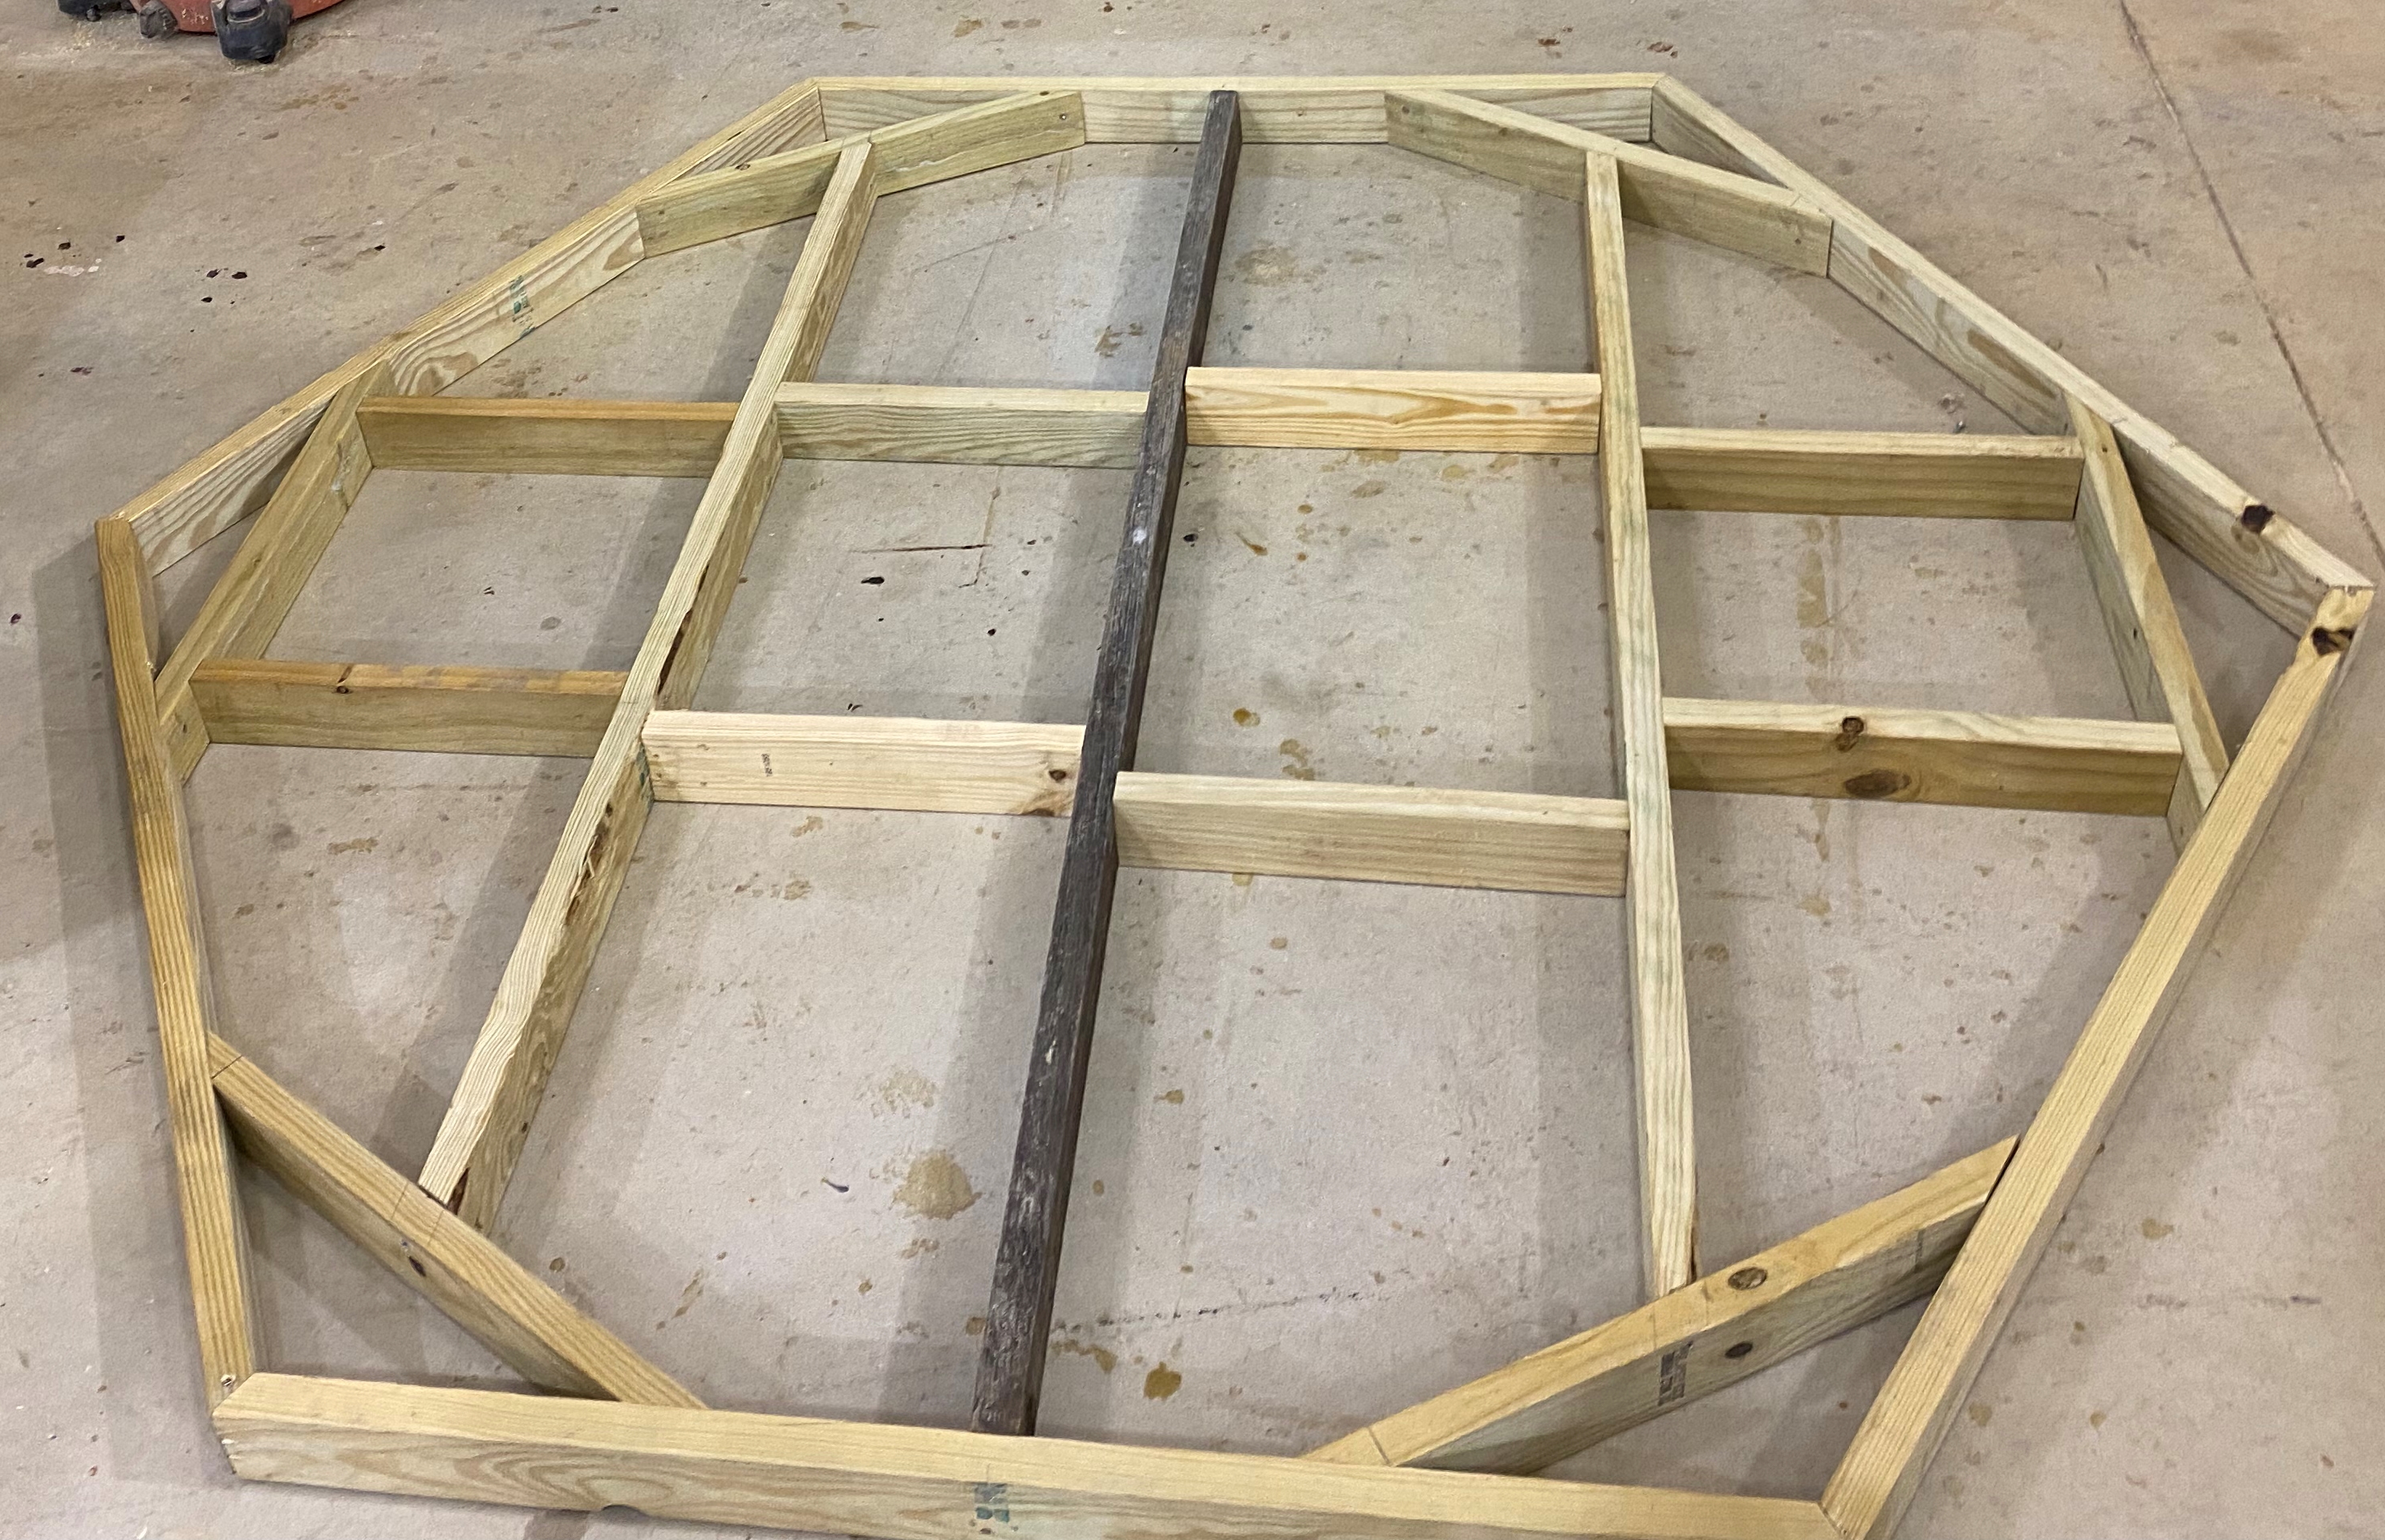
Each side is 48 inches long. That results in about 7 feet from side to side and 8 feet from point to point.
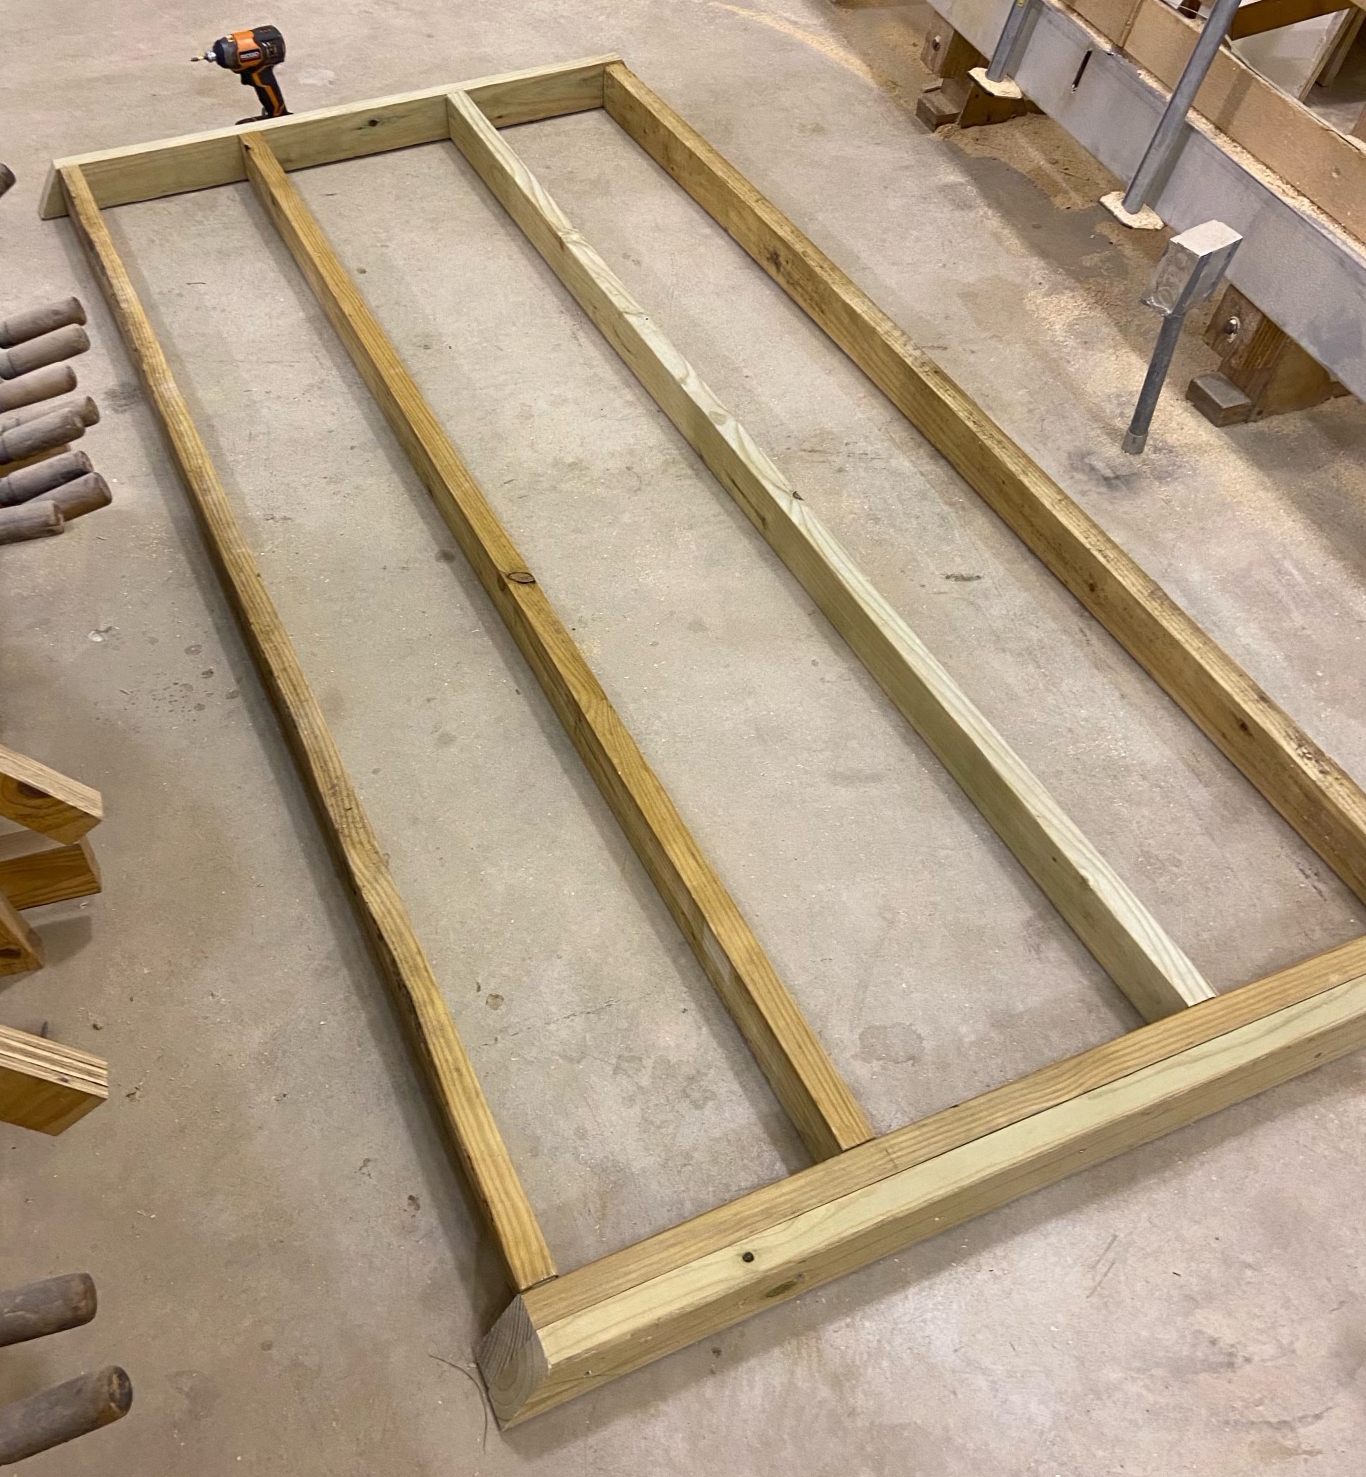
2x4's treated for ground contact were used. The studs are offset so screws can be run in from the ends.
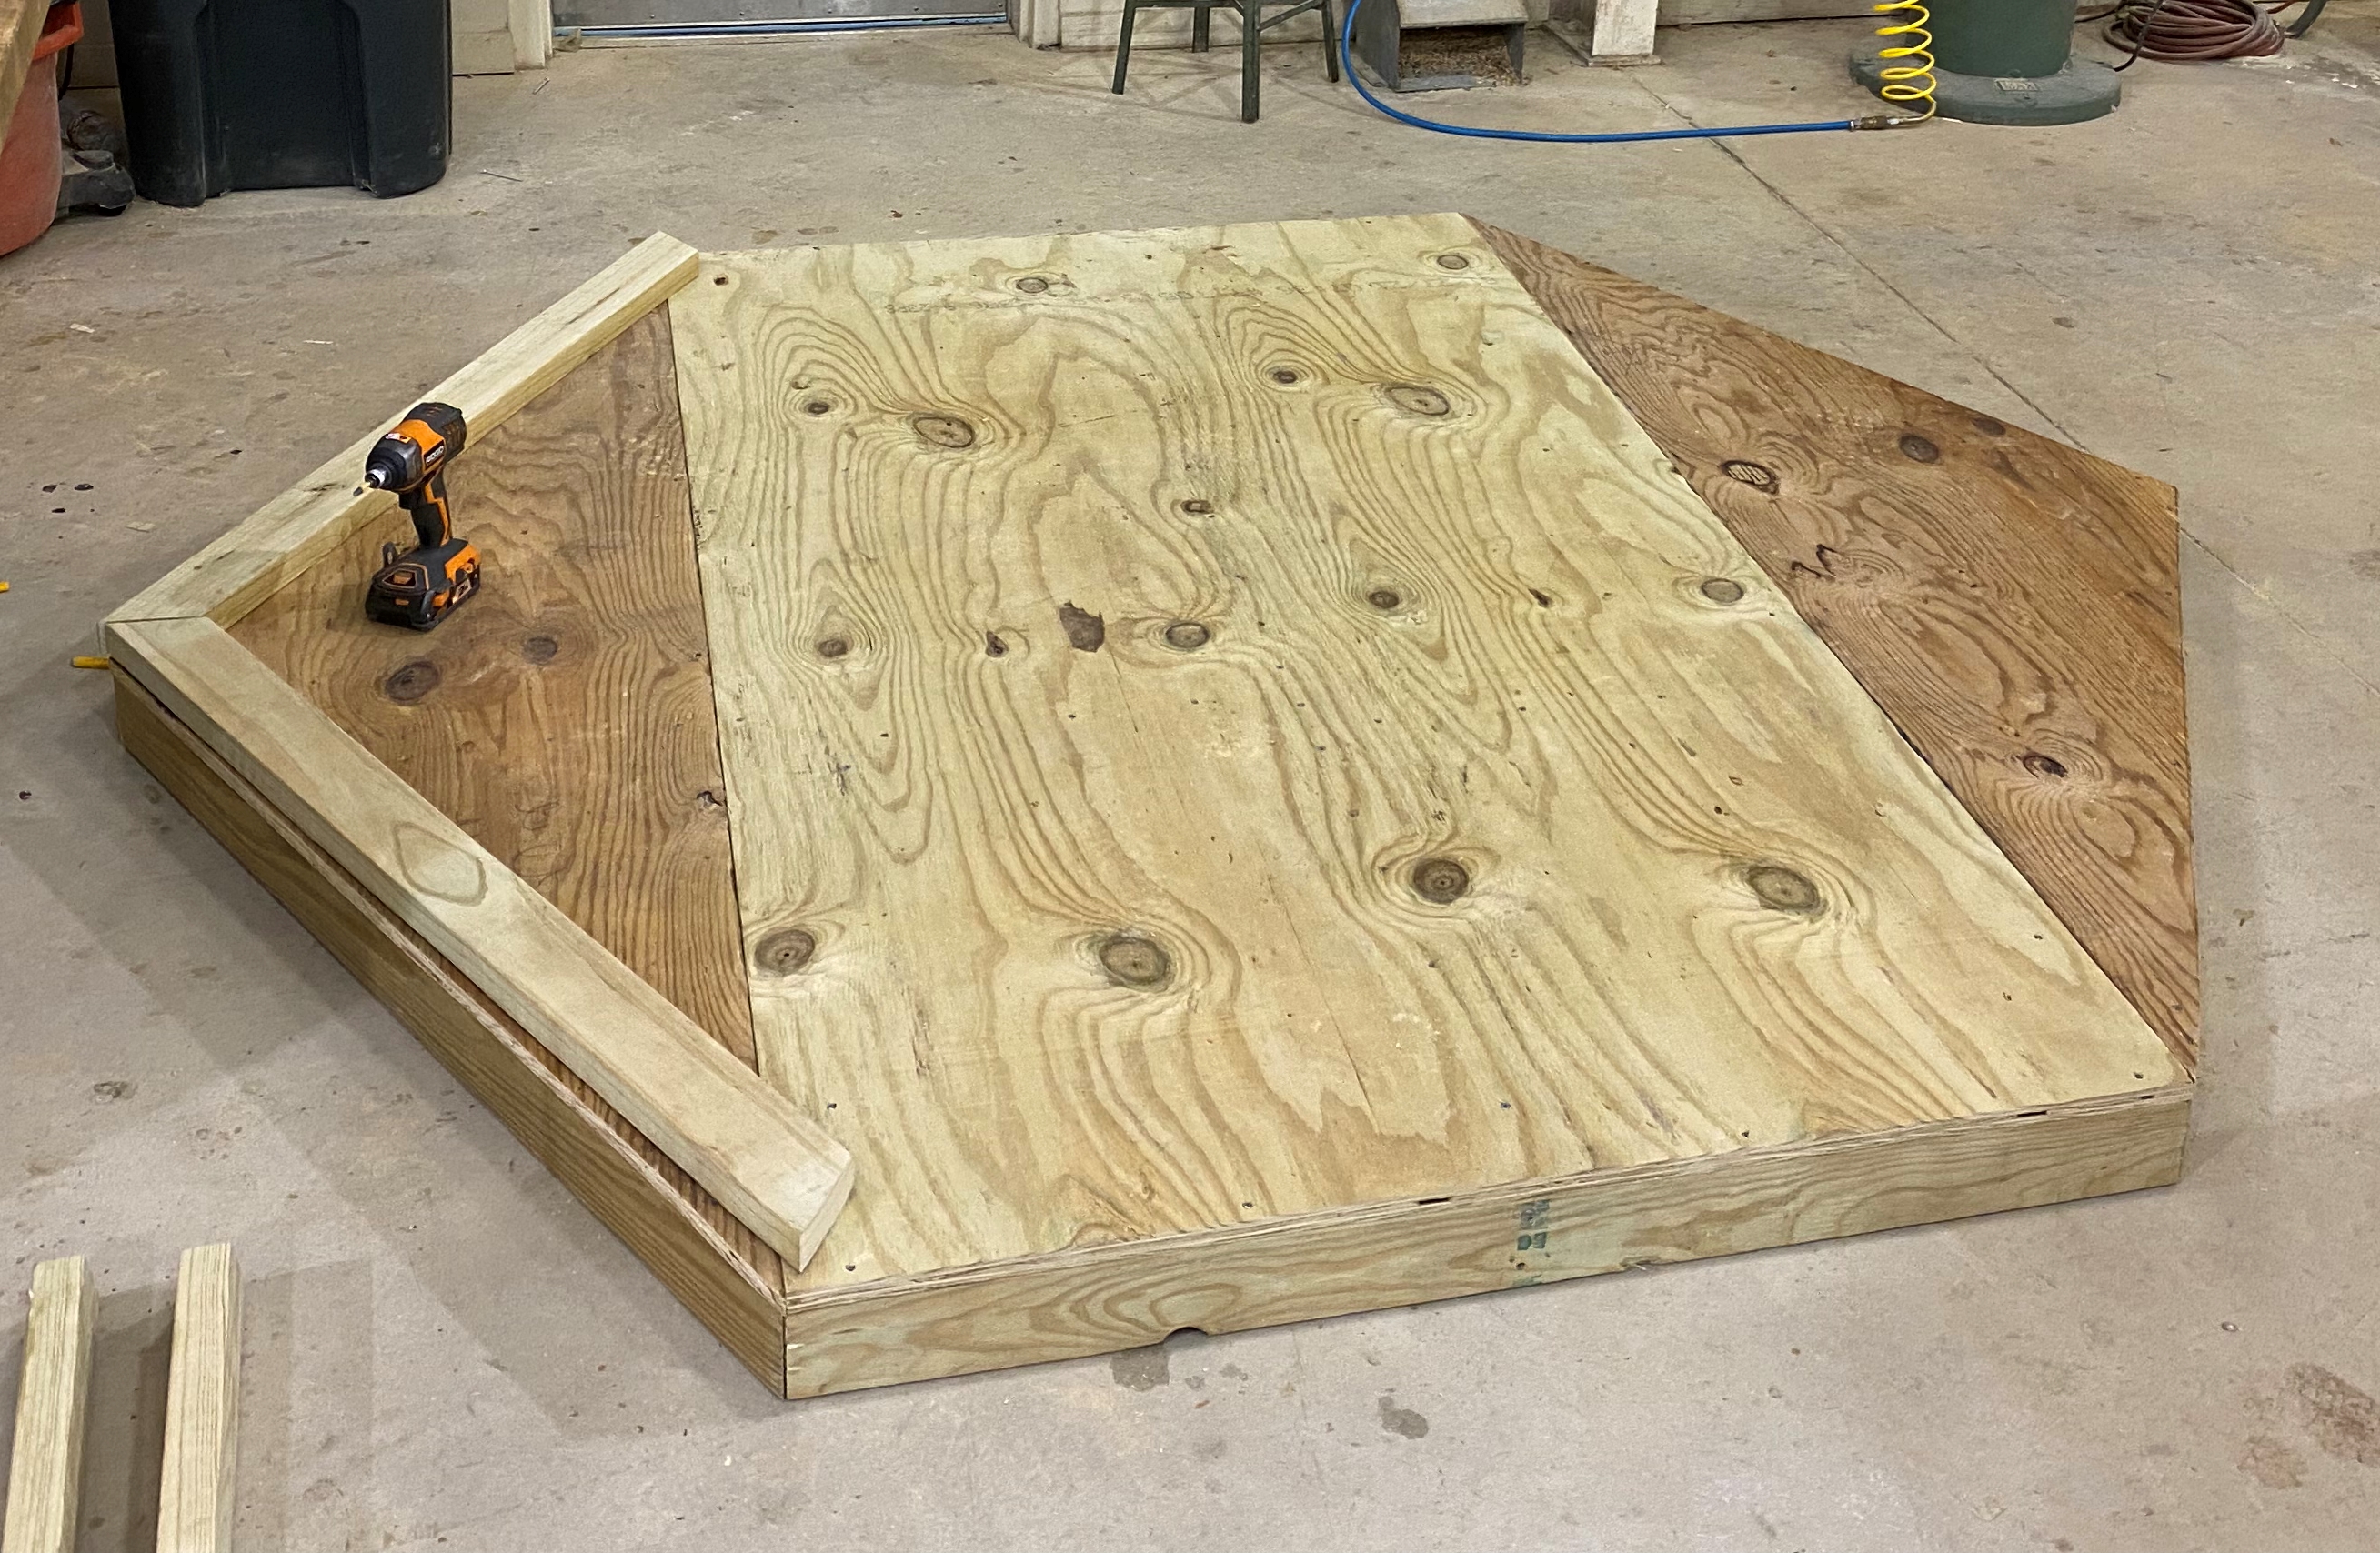
3/4 inch treated plywood was used. It is screwed to the base frame.
Untreated 2x4 pine studs were used, at 16 inch spacing.
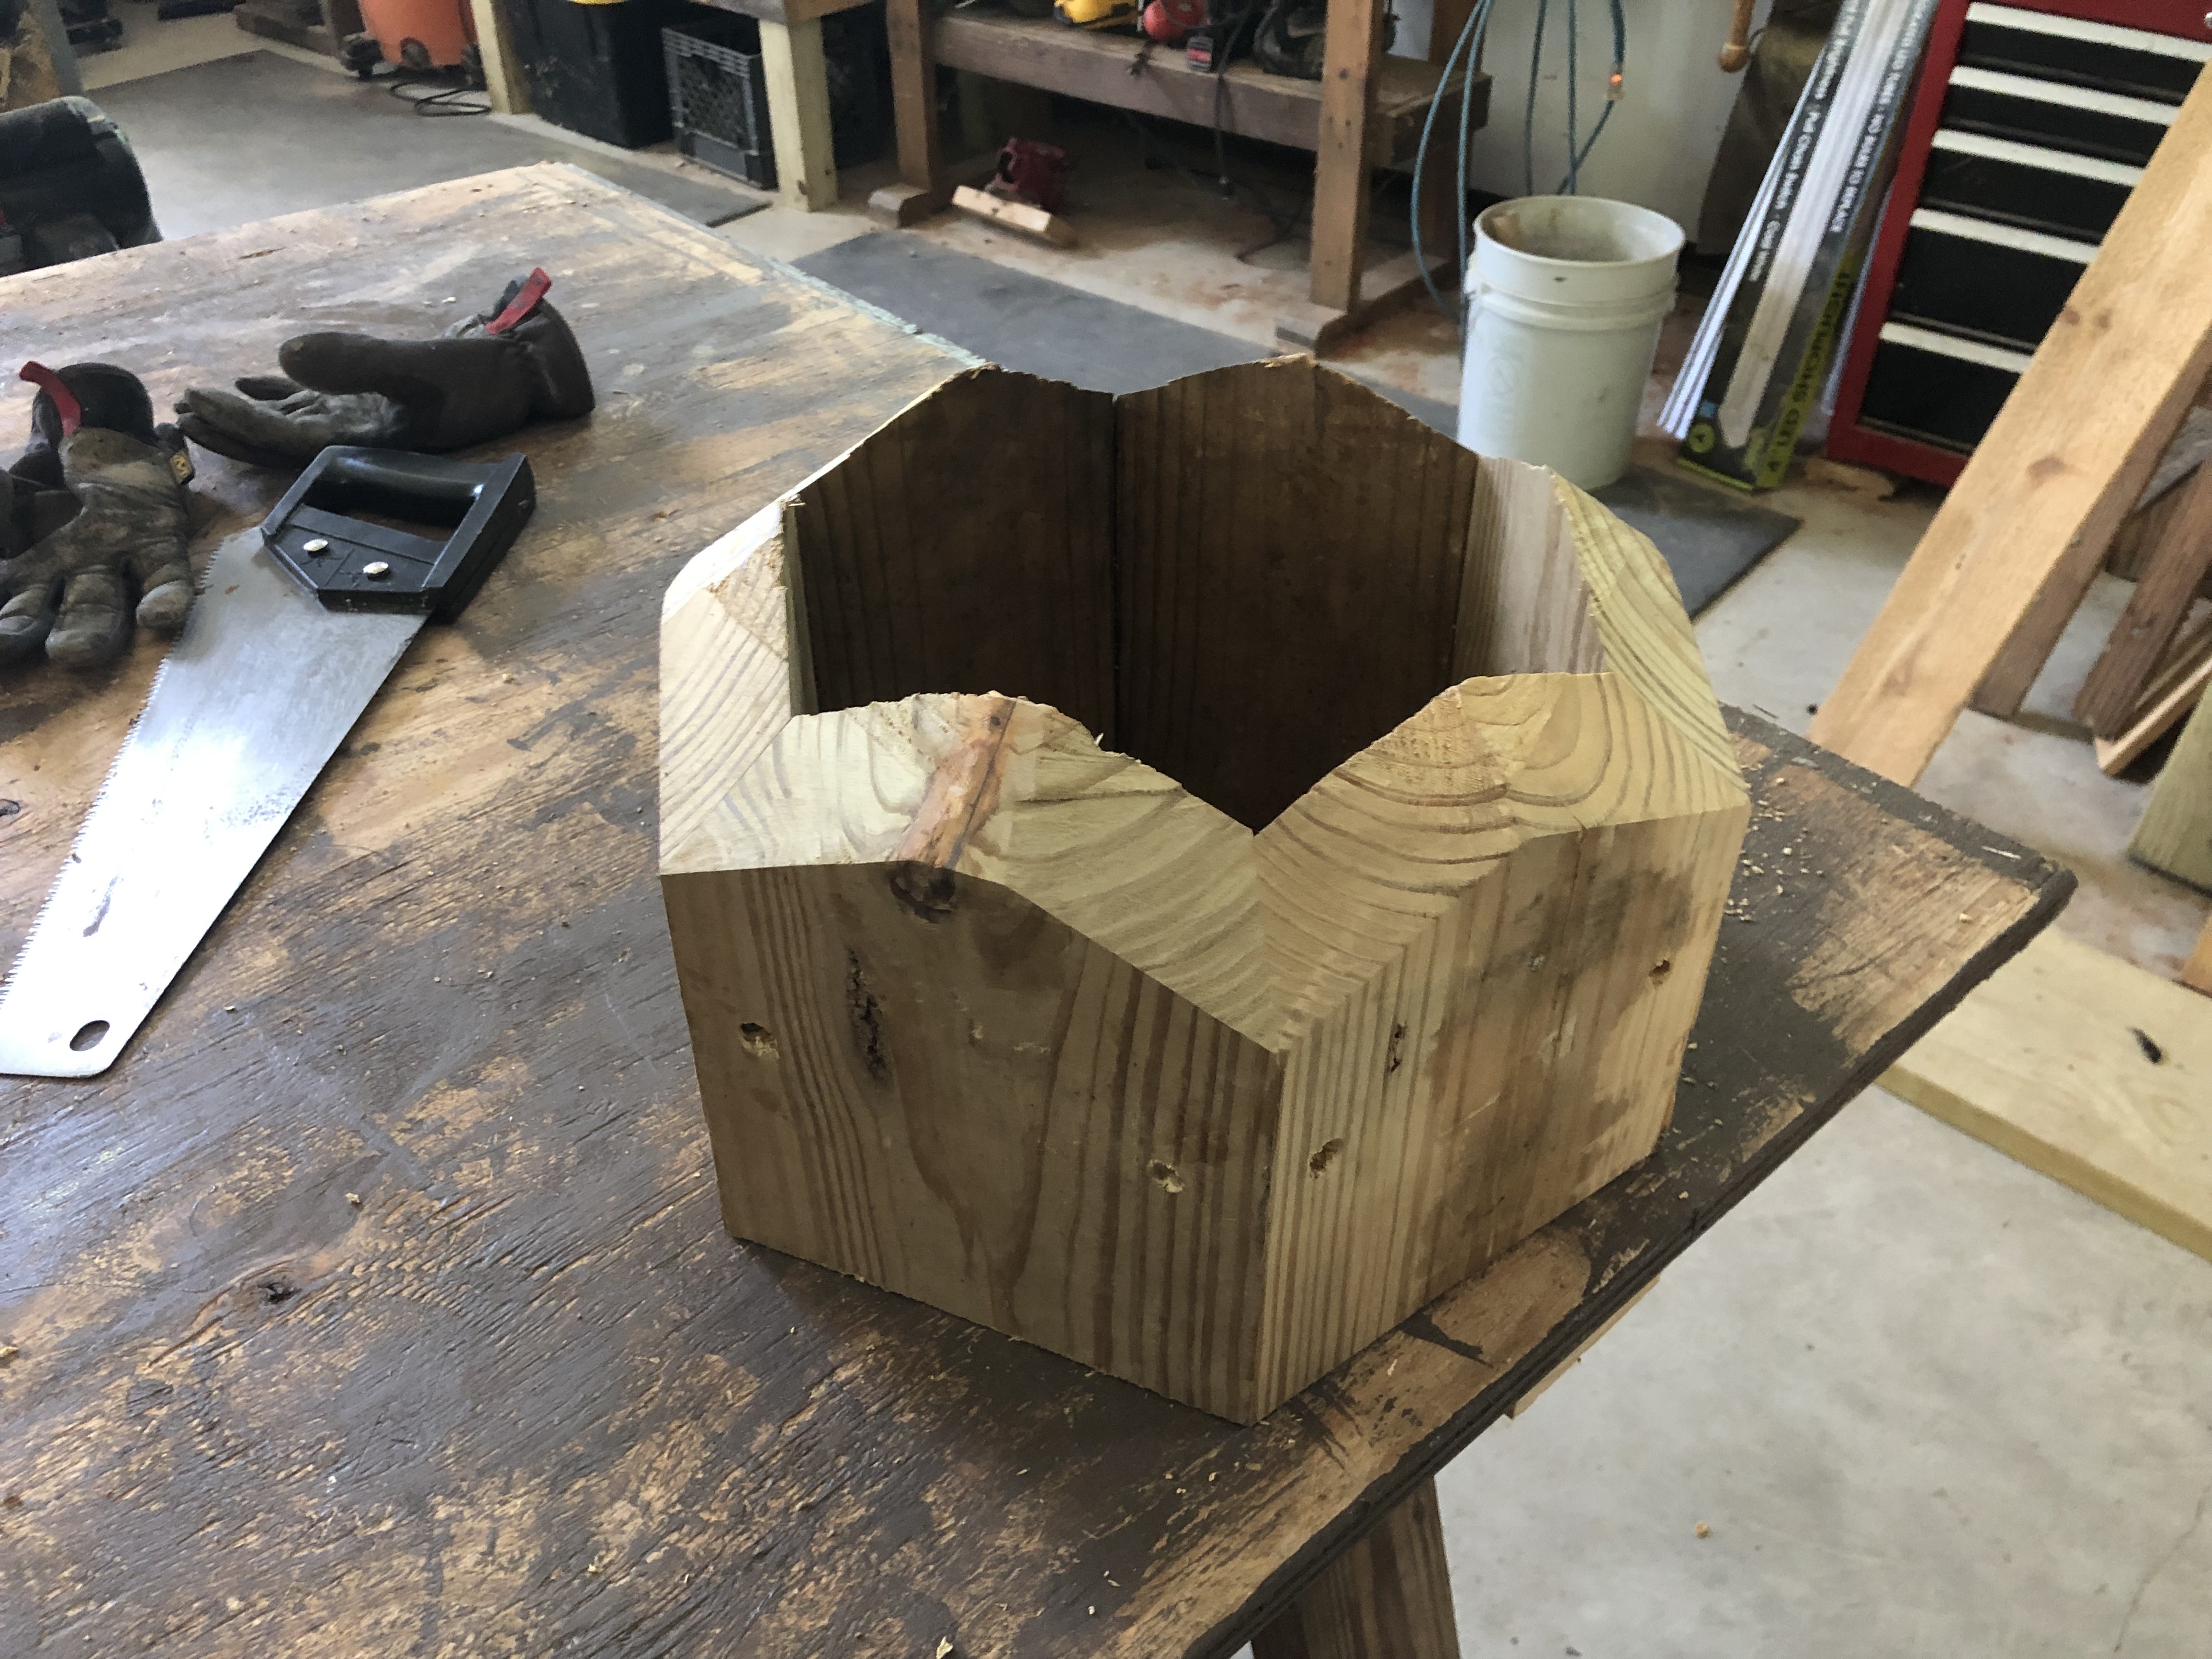
The plan in the Instructionals website had a solid block with six sides cut into it. There are a number of advantages going with this type of block:
- Provides ventalation at the top of the roof.
- A drill driver fits inside of the block, so screws can be run into the end face of the rafters